Pages

Saturday, March 16, 2013

Totally Awesome Applique Book

Today (National Quilting Day) I have had no time for sewing, but did manage to put in a few hours reading through my newest quilting book: "Simply Successful Applique" by Jeanne Sullivan.
That crazy complicated block on the cover? Instructions for making it inside!
I ordered this book online after being very impressed by the positive review Michelle at the Quilting Gallery gave it. I was intrigued because one of my sewing goals this year is to do some hand applique, which I have yet to really try (I took a class once but never finished my sampler project that I started in it). I have a few different applique books, but most just cover the basics and are more of "here is a really simple project"which is great, but I want to do cool stuff like Baltimore blocks! I actually aspirationally bought some American Album patterns (CA and AK) a few months ago, my goal this year is to do one of them.

Now I was planning on just flying by the seat of my pants for this intricate hand applique that I don't know how to do, but this book solves that by going beyond basics and into the nitty gritty of how to do Baltimore-style tiny pieces. It assumes you know nothing about applique and in painstaking detail goes through every step of the applique process. Seriously, painstaking detail.  I should definitely be able to mimic these stitches by following Jeanne's meticulous instructions.

Forgive my awful book photography. This shows  step-by-step photos  of how to stuff mini berries for a trapunto look.
Check out the thought that went into adding an example like this...really impressive.
And detailed stitch guides for many common shapes...
Jeanne goes even beyond the basic, into some really cool details like making a teeny tiny trapunto ladybug. And then to top off this tome of knowledge, she includes a cd of 9 really detailed and intricate patterns! Like, seriously intricate. And not just the patterns, but instructions and tips for each one! I am seriously over the moon. My boyfriend has had to sit through me showing him all of the best parts of the book (look at this!! and this!! That's a DIME next to that teeny tiny leaf!!) because I am just that excited.  In fact, I am so excited that I am writing an entire post about lol.

------------------------------------------------------------------------------------------------
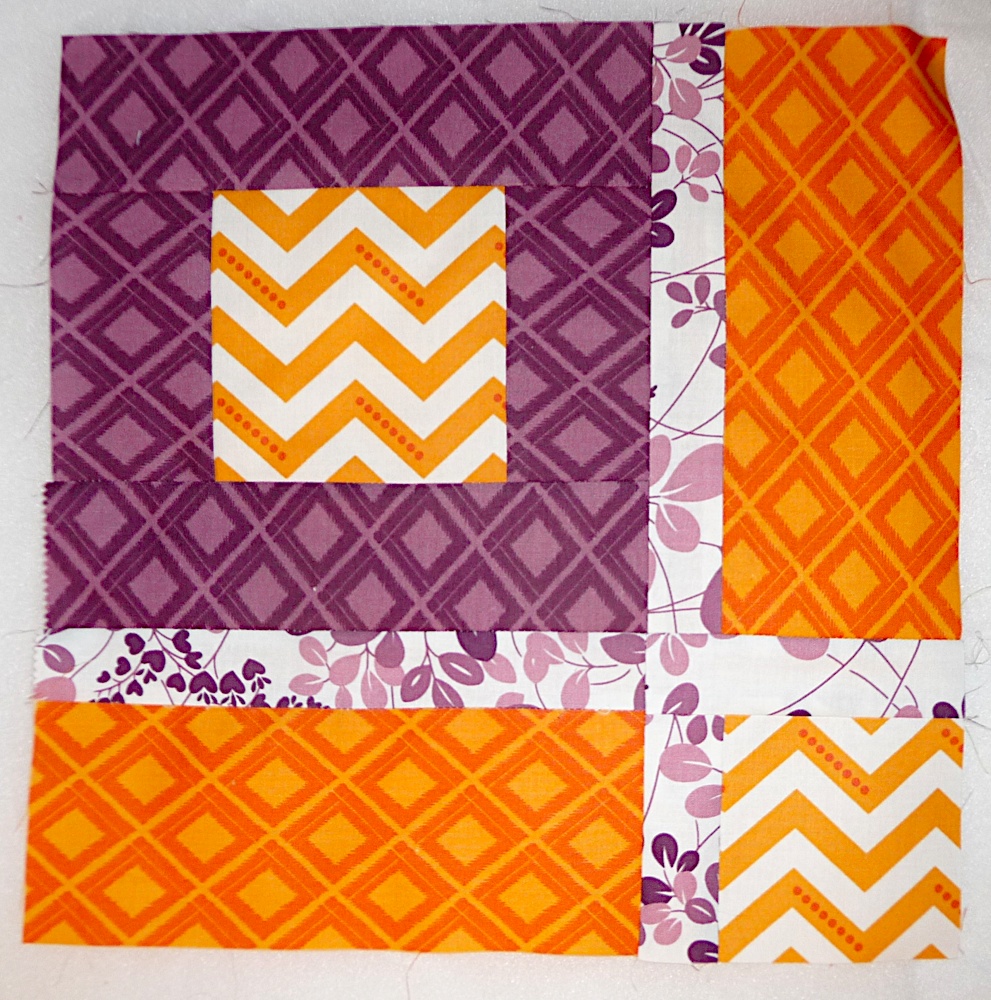
In other news, I am still chugging along on my mystery quilt blocks....photos tomorrow!

Here is a project list I have made for myself, mostly for my own purposes of keeping track:

In Progress:

  1. Mystery quilt - I will probably just finish the top and give it to my guild. I'm enjoying working on it but am not invested enough to actually buy backing, batting, binding and go through the whole quilting process on it.  Although the solid fabrics could show off some very pretty fmq...hmmm...
  2. Layer cake bargello- I am excited about this one! But it might go into the ufo pile because I just sort of started it on a whim and it's not that important.

UFO:

  1. Charity wholecloth. I should get on this, it's hogging a lot of space in my sewing corner
  2. QAYG block of the month blocks.  This is kind of in progress, but I am not super psyched about it so it will probably become a UFO
  3. Quilted Jacket - I want to work on this thing to get it finished and out of my life. I am mighty close, if I don't quilt it (which I probably should...arrrrrg....)
  4. Stairway to cat heaven #2 - the person who commissioned it disappeared off the face of the planet so I have slightly lost steam.

Not Yet Started:

  1. Baby quilt. I have a tentative pattern picked, no fabric chosen yet though.
  2. Hand applique projects! I should probably do something simple before I tackle my American Album blocks...
  3. Quilters Wallet - I bought this pattern a while ago and all the supplies for it, so I just need to sit down and do it.

Sunday, March 10, 2013

Bargello Options


In my last post I discussed some options for a quilt with my newset layer cake. I decided to make the bargello, because it's so pretty and clearly not what you would anticipate being made from a layer cake. It is very small, but you can easily buy a second layer cake and just double the size of the thing if you want. I was also thinking of doing one of those round robin borders around the central bargello to expand on it.

Anyways, I have spent the day playing with colors. The trick is that this layer cake has a lot of very pale tan/light brown shades, and less pink and dark brown shades. It comes down to whether I want to stick all the tans together and have the colorway be tan/brown/pink, or split the tans in two and have the colorway be tan/brown/tan/pink. I was able to play around in photoshop with a photo of the colors lined up to approximate what the quilt would look like under each option:

Below is my original photo of the two colorway options I developed.

Here are imitation bargellos I made from that photo in photoshop:
Here is option #1: tan/brown/pink


And here is option 2: tan/brown/tan/pink


So which do you like? I am definitely stumped. I think I will have to sit on it for a few days before deciding which to use. In the meantime I can cut all 40 of these blocks into 2.5" strips!

Thursday, March 7, 2013

A New Mystery Quilt!

One of my goals this year was to do some of these online group projects...quilt alongs, BOMs, etc. I didn't quite get around to it, but this week I saw that Connecting Threads was hosting a pretty straightforward Mystery Quilt Quilt Along. And it only required four fabrics, in sizes that I actually had available in my stash! It's only in 3 parts, here is part 1:

My color selection. Solids I bought for very cheap at my guild's quilt show this past summer.

Pieces for the first part all cut:

Then we were supposed to make squares. Except as you can see I made about half facing one way and half facing a different way...oops. I just assumed since it was a square it wouldn't matter what order I put the pieces together in!

And here are all the bits for part 1! I am excited and having fun. :)


On a side note, my new layer cake came in the mail! Isn't it great? "Mocha Kiss" by Timeless Treasures.

Now I am deciding what pattern to use it with. I want something complicated, not quick and easy. I found this really cool pattern, "I used to be a layer cake":
However, the finished quilt is only 41"x57". I could certainly add a border, but it would still be only something like 50x70 unless my border was HUGE. I have made a lot of lap quilts in my day and they never reach my toes when I am trying to lie under them! So I would prefer something a bit larger.

There is also this pattern:
But it would require purchasing of fabric for the background, small pinwheels, and borders, which I might be okay with.

Finally, I am looking at this one:

"Antique Etoiles" from Moda bake shop. Again, this would require purchasing a lot of additional fabric.

Thoughts? Which do you like? Any others you've used with success?

Sunday, March 3, 2013

Figuring Out QAYG

So today I finished my last block from my BOM quilt.

Here's yesterday's block, with it's new mini-border. It looks like an afterthought but it does tie the block together a bit.


And here is today's block! The block that got lost in the mail was a star, but I didn't want to do the exact same one, so I browsed the the "Oh My Stars" quilt-along from Thought and Found (which I really really want to do someday, these quilts are so cute!) and picked this star, which incorporates all the rainbow fabrics in the line.


So here are all the blocks laid out (March is missing because I gave it to another member of my guild to present on my behalf at the next meeting since it will be in the morning). Frankly I think it's a bit of a mess.  This to me is the downside of precuts: they often include ALL of the fabrics from a line, when including all those fabrics in a single quilt might not be a good idea.  Color to me is one of the most important aspects of quilts, and this quilt has no color consistency whatsoever. Boo. My fault for picking this particular layer cake; the new one I just bought has only shades of pink and brown so I think it will make a much more consistent looking quilt when I decide to finally use it.
Now it's time to figure out how the heck to quilt it.  I previously decided I was going to do "quilt as you go" and bought backing fabric and batting, and even cut some backing fabric...but didn't write down notes anywhere of what I was doing.

So now I'm not quite sure which QAYG method I had decided to use and why I cut my backing fabric at the particular size I did. I'm also confused about the method in general, as there are definitely multiple, very different ways to do it, which require different prep from the start.

Looking back at the size I cut my backing pieces, I think I was going to do the method where you add binding strips to connect the different blocks, thus I would quilt it now with no sashing and add that later. Most things I have read want a tiny sashing, but I am going to go ahead an try for a wide sashing (3") to create 2.5" of sashing between the blocks.  Now with such a wide sashing I'll have to cut the batting bigger than the block...err...guess I'll try this with only two blocks first and attempt to stitch them together and see how it goes.

The other thing I can't figure out is how to add a border under QAYG. Is it even possible? I guess I could quilt a really long strip and stick it on? I measured out my blocks and I estimate that without a border my finished quilt will be 45" x 60."  This is pretty small, so I think it will definitely need a border. The BOM suggests adding a 7" border to each side to get a final quilt of 59"x 73", a much more reasonable size (although I guess by my calcs mine would be only 52"x67"...can I not do math or something? EDIT: DUH it's 7" to each side so 14" added overall...so turns out I can NOT do math!) But I am not sure how to add a border using QAYG.

Anyways, I guess I will just dive right in and figure it out.  Anyone have experience in QAYG and have any helpful tips?

Saturday, March 2, 2013

Almost done with BOM blocks!

I have been doing about a block a night on these BOM blocks...I have now officially completed all 12 but since one disappeared in the mail I will have to create a 13th block to finish the top off.  These have been really fun because they are very quick and easy and you get that satisfaction of completing one pretty frequently.  These last few blocks have had their share of headaches, but it's still been fun.

First we will start with the ones that did go right:


Okay, now for the two that were trouble.  This flower block was a nighmare, and it was completely my fault. I was being lazy, and screwed up the whole thing so many times on so many levels.

First, you will note three different spots where I had to patch in more fabric because the pieces I was using weren't long enough. Which I would have realized if I had been measuring more carefully.

The light blue strip was made from scraps, and they were about half an inch shorter than requested. So I said "no problem, I'll just make the green strips half an inch wider" which was all well and good, but then I cut the yellow half an inch thinner for that block which did NOT work because it was sewn on the diagonal, and really needed to probably be like 1/4" smaller or something. So I had to patch it.

THEN I had to patch that green chunk not once but twice to eke out enough fabric (these are almost all scraps from other blocks. Then, I got to the very end (see below), and it was not square! In fact, one side was a FULL INCH longer than the other. What??? Well it turns out in my typical laziness, I hadn't fully trimmed one of the blocks early on. I do this a lot (see the green chunk below as an example) and figure I will jsut trim that part off after it's sewn. Well in this case I forgot and as a result the whole thing is lopsided. Luckily because the flower is diagonal it's actually not as obvious as it could be that the whole thing is wonky.

Okay, then we come to today's block. I didn't like the block for the 11th month, so I made up my own. I found one on pinterest, and found the directions for it (see here), but the directions didn't include anywhere what the finished block size was, so I needed to basically make up my own directions. It was pretty easy once I sat down with some graph paper. Things were going swimmingly until I went to line up my HSTs with the edge of the current block and they were too small, by 1/2"!! Eek! What could I have done wrong??


Well it came down to the HST paper I printed out. I didn't bother to double check that one inch was one inch...I just eyeballed it.  Turns out, it was about 1/8" shy of one inch...doh!

So I ended up trimming down that white/purple sashing to match the triangles.  Here is the finished block.  The problem now is that it is 12" and needs to be 12.5." Boo.
I think what I will do is basically add a really thin border around the outside in that white/purple fabric. It will look obviously like a patch because it will only be 1/4" on each side, but oh well. It should help tie things together a bit more. That grey didn't work as a background as well as I had hoped.

Anyways, I'm not really discouraged by these errors because I see this quilt as a learning process, and I'm pumped to be back in the swing of quilting. So pumped that I bought another layer cake! Not sure what I will do with it, but I have enjoyed working with these 10" squares and think they are pretty darn versatile. Plus the new layer cake is only shades of two colors instead of a million like this one, so it will be easier to make a more cohesive quilt with it. I will post photos when it arrives in the mail!